Sig Comp Step-by-Step
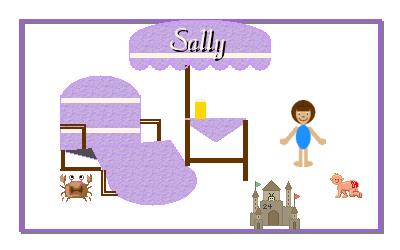
Step Four All this code can remain on the page; using the double slash you "comment" it out and it is ignored. Sometimes you may want to start with a blank canvas or background. That's another chunk of code. It defines the size and the color, and then you "draw" it to size. This chunk of code goes above the color values we added last lesson. //DEFINE BACKGROUND SIZE $width = 400; $height = 250; //CREATE THE CANVAS AT DEFINED SIZE $im=imagecreatetruecolor($width, $height); //CANVAS COLOR $bck = ImageColorAllocate($im, 255, 255, 255); // SET BACK TO TRANSPARENT- //ImageColorTransparent($im, $bck); // MAKE YOUR BACKGROUND(canvas). imagefilledrectangle($im, 0, 0, 400, 250, $bck); As you can see above, our image is created in "true color", that means it must be a jpeg. For a gif output it would read imagecreate. To have a jpeg, we must change the top header and the output at the bottom. You may make this background transparent if you wish. For this exercise let's leave it white. So we've defined the height, width, and color and drawn the background. From here you can draw more things, composite things, annotate, or you can color it or fill it with a texture or background. Let's draw a shadowed border. Let's make the border 20 pixels in from left and from the top. The following draws a grey rectangle 3pixels wide beginning at 22x22. This will be the drop shadow. imagesetthickness ($im, 3); imagerectangle($im, 22, 22, 382, 232, $grey); The following draws a purple rectangle 3pixels wide beginning at 20x20. To do that, I had to add the purple to my colors at the top. imagesetthickness ($im, 3); imagerectangle($im, 20, 20, 380, 230, $purp); Now if we add the background code chunk to our script, we can comp our original image and the other images and annotate. That gives you a basic script for a tag. Just use the chunks you need and put the double slash in front of that you do not need. Background Border and Comp 
|